What happens on installation day
A scaffold, a roof crew and an electrician, in the order they arrive and what each needs from you.
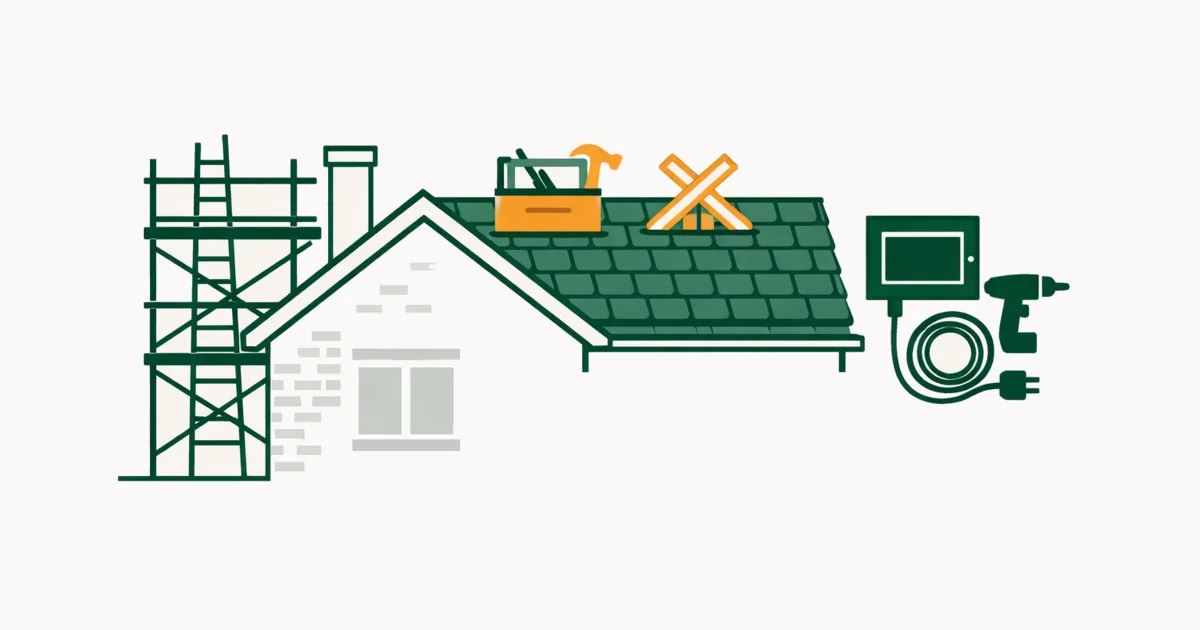
A domestic solar installation is usually one to three days of work, spread across two or three separate visits by different trades. Knowing the sequence makes it much easier to tell whether a job is going normally, and to catch the two or three moments where speaking up early saves real money.
Here is what happens, in order, and what each stage needs from you.
Before anything arrives
The survey. Someone should have visited, been on or near the roof, checked the loft, looked at your consumer unit and assessed shading. A quote produced without this is a quote produced from an aerial photograph, and the exclusions conversation should already have happened in writing.
The network paperwork. Your installer notifies or applies to the local network operator, and which route applies is set by the G98/G99 rules: up to 16 amps per phase of inverter capacity, 3.68kW single phase, is notified within 28 days after commissioning; anything larger needs a G99 application approved before installation, which adds weeks. Ask which applies to you, whether the approval is actually in hand if it is G99, and whether an export limit is expected, because a capped connection changes the projection you bought the system on.
The materials. Panels, mounting, inverter and cabling are delivered, often to your property a day or two ahead. You need somewhere dry to keep them, and it is worth checking the delivered panel model against the quote while returning them is still trivial.
Day one: scaffolding
A separate crew, usually a separate company, erects the scaffold. This takes a few hours and happens before the roof crew arrive.
Two things to have sorted:
- Access and parking. Scaffolders need to get a lorry close. If your street needs a pavement or highway permit from the council, that is normally arranged in advance, but confirm whose job it was, because a missing permit stops the whole sequence.
- Where it goes. Scaffolding may need to cross a neighbour’s boundary. That conversation is much easier had beforehand, over a fence, than on the morning, over a lorry.
The scaffold usually stays up for the duration and is struck a few days after the work finishes. That gap is useful: it is your inspection window, and anything fitted at height is cheapest to fix while the access still exists. Bird mesh, if you decided on it, goes on now for the same reason.
Day two: the roof
The roof crew fit the mounting rails first, which means lifting tiles or slates to fix brackets into the rafters. This is the part that requires care: it is where leaks come from if done badly, and where slates break.
Then the panels go on, and the DC cabling runs from the array into the loft.
Expect some breakage on a slate roof. It is normal, it is one of the reasons slate jobs price higher, and a competent installer arrives with replacements. What is not normal is nobody mentioning it.
Day two or three: the electrics
An electrician fits the inverter, usually in the loft or a garage, runs the AC cabling to your consumer unit, fits isolators and any required protection, and connects the system.
If your consumer unit is old or full, this is when that surfaces. It should have been identified at survey; if it was not, you are being asked to approve an extra on the day, which is exactly the failure mode the written exclusions list exists to prevent. You are entitled to pause and take the price in writing before agreeing.
Commissioning and handover
The system is switched on, tested and registered. You should receive:
- The MCS certificate for the installation, the document your export registration depends on.
- Manufacturer warranties for panels, inverter and any battery.
- The installer’s own workmanship warranty, and the consumer code backing it.
- The building regulations notification evidence.
- Monitoring set up and demonstrated on your phone.
- An explanation of where the isolators are and how to shut the system down.
That last one matters and is often skipped. You should know how to isolate the system before the crew leaves, for the same reason you know where the stopcock is.
Afterwards
Register for an export tariff. This is your job, not the installer’s, and it requires the certificate plus a half hourly capable meter, per the SEG rules. Until it is done you are giving your surplus away: the difference between a good tariff and none is a few hundred pounds a year for a typical exporter, and the week you spend not registering is priced accordingly.
Watch the monitoring for the first month. This is when a wiring fault or an underperforming string shows up, while everyone is still engaged, and the monthly glance that is most of solar maintenance starts here.
Keep the paperwork together. You will need it for the export tariff, for insurance and eventually for a buyer, whose conveyancer will ask.
What a good job looks like from the ground
Panels sitting flush and evenly spaced, with consistent gaps at the edges. No cabling visible on the outside of the roof. Tiles or slates properly reseated around the brackets. The loft tidy, with cabling clipped rather than draped. The inverter mounted where its display and isolators can be reached, not buried behind the water tank.
If something looks wrong, say so while the scaffold is still up. Everything is cheaper to fix before it comes down, and a good installer would rather make it right on Tuesday than argue about it in a review on Friday.
Related
- MCS certification: what it means and why it mattersWhat certification does and does not guarantee, why export payments depend on it, and how to check a registration properly.
- How to read a solar panel quoteLine by line, with the questions that expose an inflated generation estimate and the exclusions that turn up after you have signed.
- The network operator application, explainedG98 notification against G99 permission, which applies to you, and what a refusal looks like.